
Meeting hosts have several options to secure their Zoom rooms and manage users. These features can prevent disruptions from known or unknown participants (disruptions known as “Zoombombing”). If any of these options are not available to you, please check your Settings under your Zoom profile or contact the Help Desk.
By default, Zoom encrypts in-meeting and in-webinar presentation content at the application layer using TLS 1.2+ with Advanced Encryption Standard (AES) 256-bit algorithm for the Desktop Client.
Quick Guides:
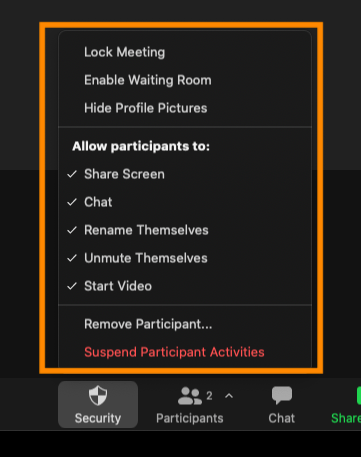
Security Button
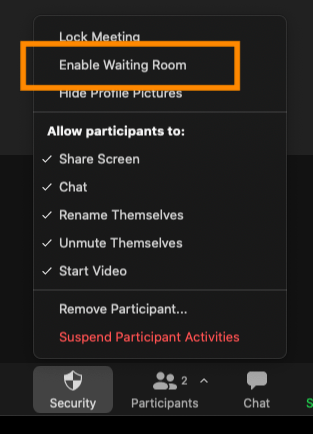
- In the toolbar, select the Security button for quick access to enable/disable security options. All these options are also available as indicated.
- Lock Meeting
- Enable Waiting Room
- Hide Profile Pictures
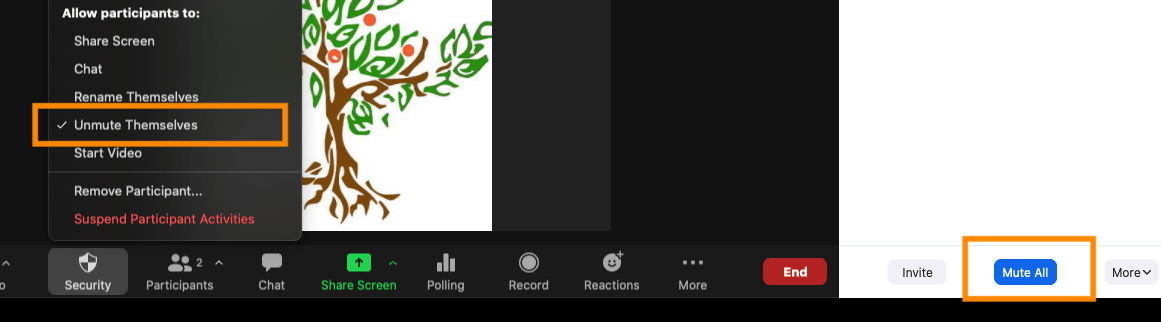
- Allow Participants to:
- Share Screen
- Chat
- Rename Themselves
- Unmute Themselves
- Start Video
- Remove Participant… (will only appear when participants present)
- Suspend Participant Activities
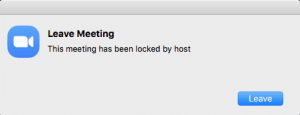
Lock Meeting
Locking your meeting prevents any additional participants from entering, including participants with the passcode.
- Select Security on the toolbar, check Lock Meeting

- Repeat the steps to unlock
- Anyone attempting to enter will receive the following message when meeting is locked:
Passcodes
Passcodes can be created for any new meeting or added to any existing meeting. Participants are required to use a Zoom link with an embedded passcode or enter the passcode manually.
- In meeting settings, select Passcode to create an automatically generated passcode for new or existing meetings. Edit passcode if needed. Then click Save

- Passcode and meeting link with embedded passcode are now enabled
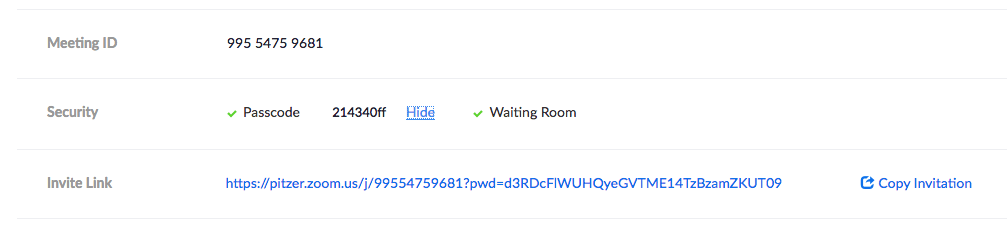
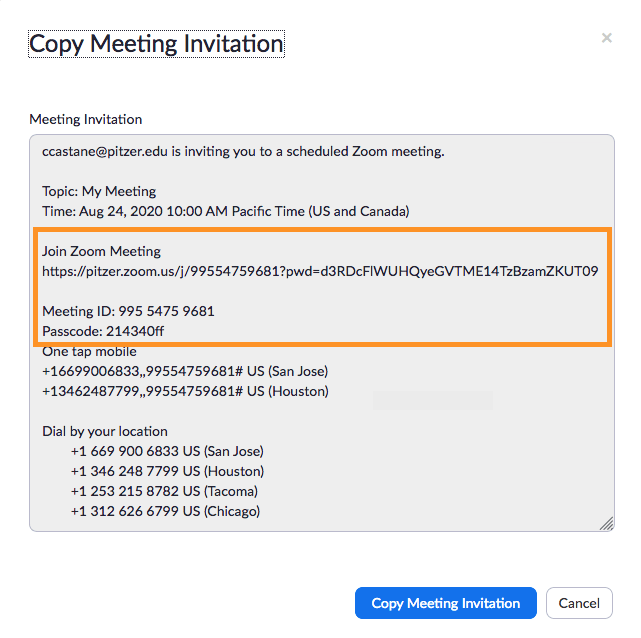
- Select Copy Invitation to view the meeting connection details and copy text
Waiting Room
The Waiting Room allows the host to control which participants and when they can join a meeting.
- Enable Waiting Room while the Zoom meeting is in progress
- Select Security on the toolbar, check Enable Waiting Room
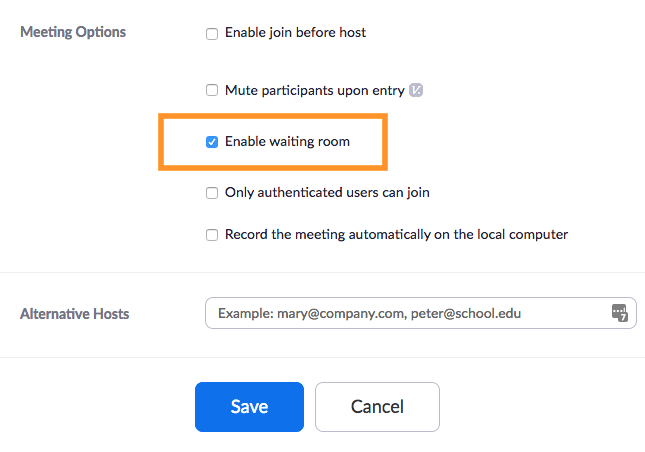
- Setup before meeting begins, in meeting settings, check Enable waiting room, then click Save
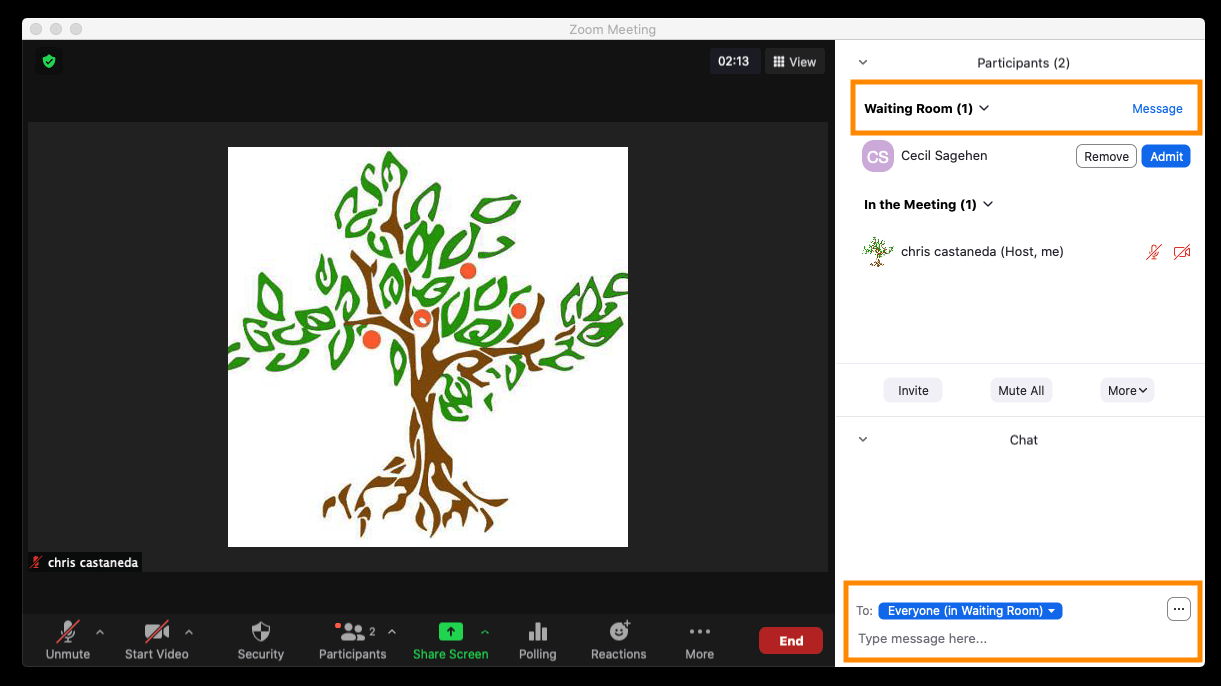
- Manage the waiting room in the Participants panel. Select Admit, Remove, or Message to send a message only to waiting participants.
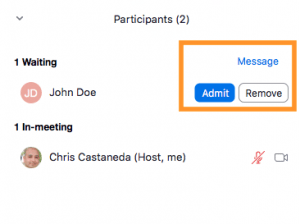
- Hosts can admit individual or all participants. The Waiting Room is only displayed when participants are waiting.
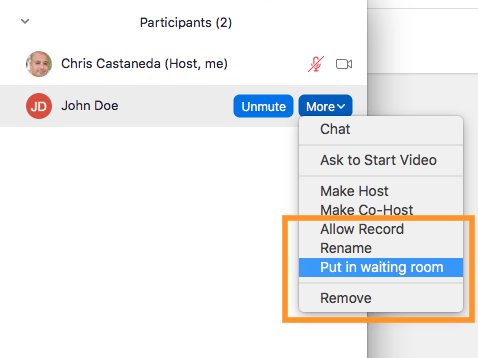
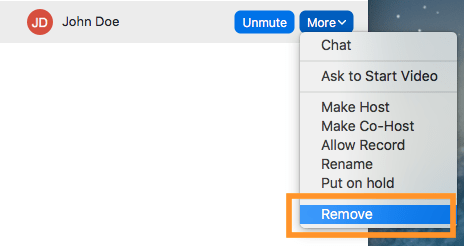
- In Participants panel > Select Participant > “More” to return a participant to the waiting room
- Participants in the waiting room see the following
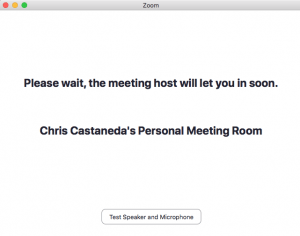
Waiting Room Message: Hosts can send one-way messages to all participants in the waiting room
- Select Message to send a message
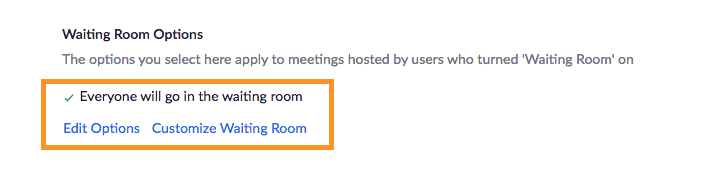
- Waiting Room options: Under Settings in your Zoom profile, select Edit Options or Customize Waiting Room
Remove Participants
- In Participants panel > select Participant > “More” to Remove
Muting Participants
- To mute/unmute a single participant, in Participants panel > Select Participant > Mute or Unmute

- To mute/unmute all Participants, in Participants panel > Mute All / Unmute All
- Select Security on the toolbar to allow or prevent Participants from unmuting themselves
Share Screen -Host Only
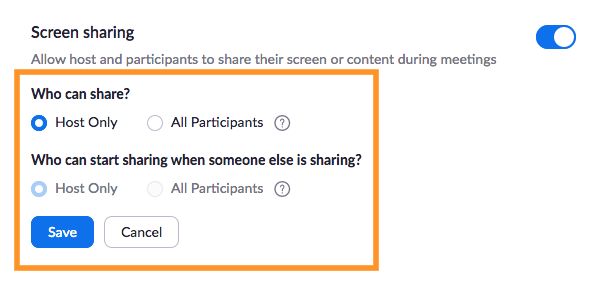
By default, participants can share their screens, Hosts can enable Host Only Sharing. To change settings for all meetings , go to Settings under your Zoom profile.
- In Settings > In Meeting (Basic), select Host Only, then click Save
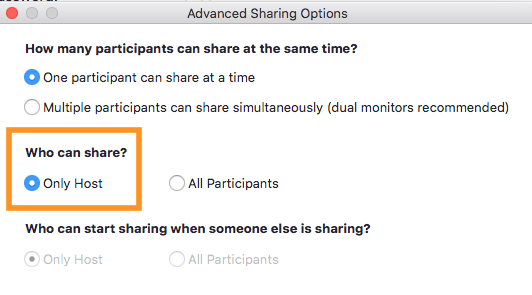
- To change during a meeting, select Share Screen up arrow option on the bottom toolbar, to Advanced Sharing Options…

- Select Only Host, then close window
Participants Panel
All security options are available via the Participants Panel
- Select Participants on the toolbar to open the panel
- Select “More” for meeting security options
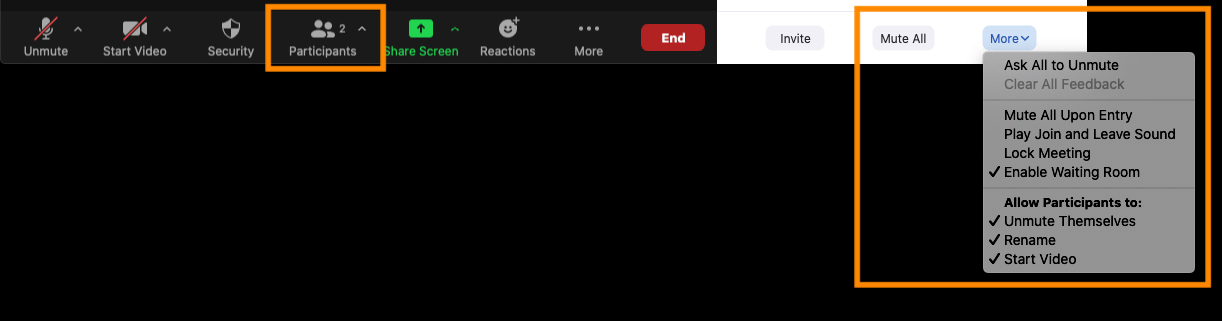
- Select “More” for security options for an individual participant

Related Links: