

Quick Guides
Below are some brief instructions/tips from the RemotePC’s FAQ webpage.
Blank Screen Host
In order to avoid others from viewing your remote computer screen during an ongoing session, you can black out the screen of your remote computer. The ‘Blank Host Screen’ feature is helpful in such scenarios where you do not have physical access to the machine to turn off the display of the remote computer.
To blank the host screen,
For PC,
- Launch the RemotePC application and log in.
- From the application menu, go to ‘Actions‘.
- Click ‘Blank Host Screen’.
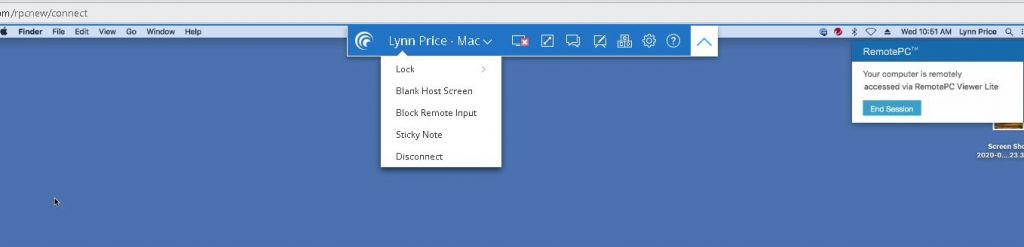
For Mac:
- Launch the Remote PC application and log in.
- Click on the down arrow at the top of your screen.
- Click on your computer name.
- Choose Blank Host Screen.
Return to top
Power & Sleep Settings
Your Power & Sleep Settings need to be set to “Never” for RemotePC (the monitor can still be set to sleep).
For Windows:
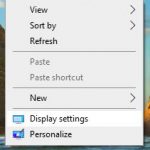
- On your desktop, right click in an open area.
- Choose Display settings.
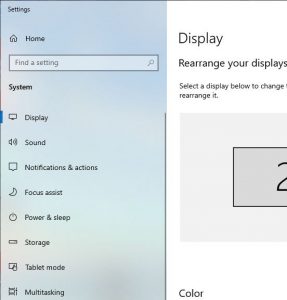
- On the navigation pane to the left, choose Power & sleep.
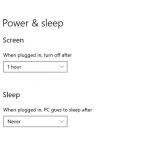
- Change Sleep to “Never”
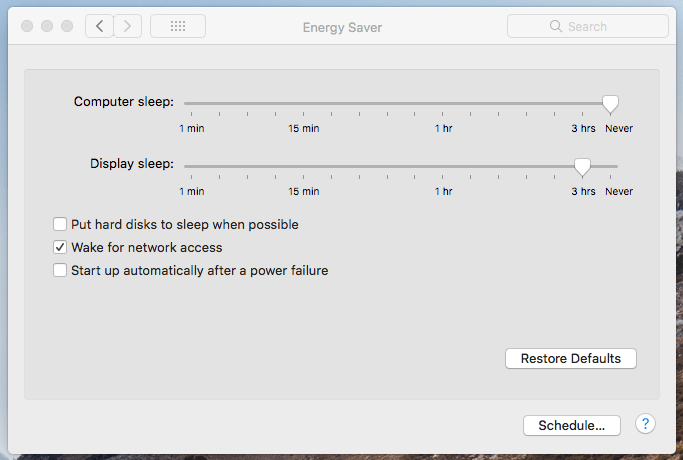
For Mac:
- Go to System Preferences.

- Choose Energy Saver.
- Slide the Computer sleep scale to “Never”.
- Uncheck “Put hard disks to sleep when possible”.
- Check “Wake for network access”.
Return to top
Resolution
You can scale the remote computer’s desktop screen to fit within your local computer window.
For Windows:
To scale the remote computer desktop screen within your local computer window,
- Launch the RemotePC application and log in.
- Connect to an online remote computer and establish connection.
- From the application menu, go to ‘View’.
- Click ‘Best Fit’. This will resize the remote computer desktop screen to fit within the local computer window.
You can also scale the remote computer’s desktop screen to fit your local computer screen. From the application menu, go to ‘View’ and click ‘Full Screen’.
For Mac and Linux:
To scale the remote computer desktop screen within your local computer window,
- Launch the RemotePC application and log in.
- Connect to an online remote computer, and establish connection.
- From the settings menu, go to ‘View’ -> ‘Scale to fit’.
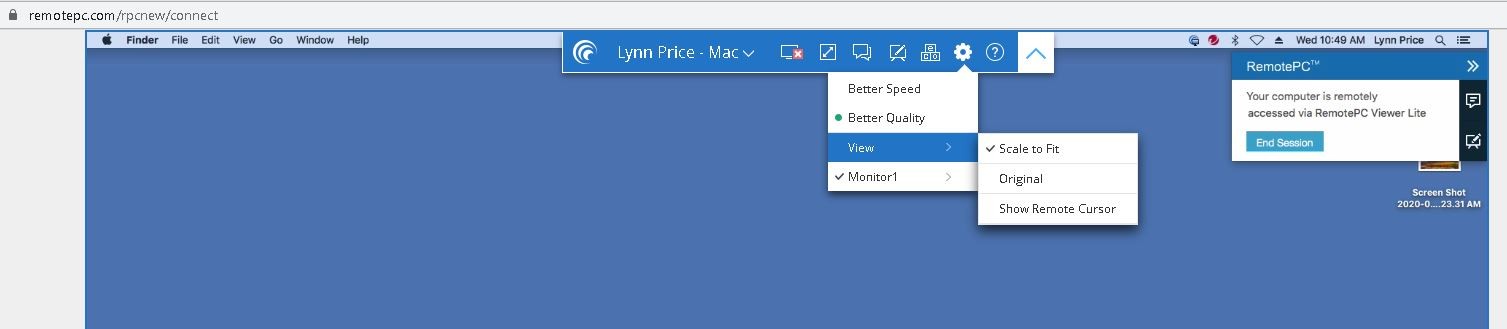
To view the remote computer desktop screen in Full Screen, click on the View Full Screen icon.
Return to top
Switching Between Monitors
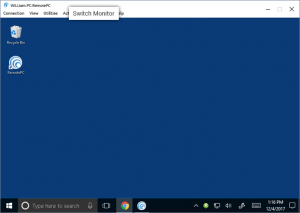
For Windows,
-
- Launch the RemotePC application and log in.
- Connect to an online remote computer, and establish connection.
- On the application menu, click ‘Switch Monitor’ to switch between multiple monitors of the remote computer.
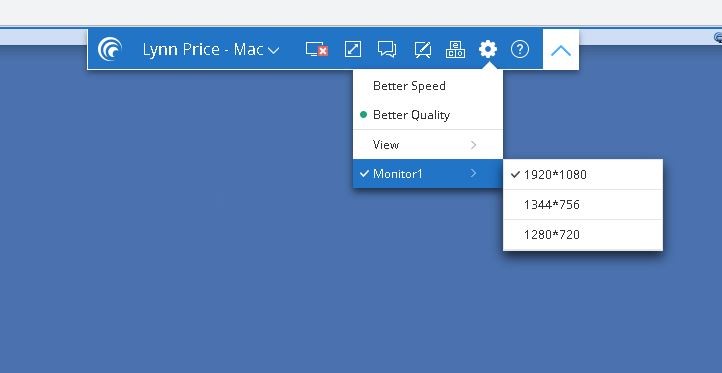
For Mac,
- Launch the RemotePC application and log in.
- Connect to an online remote computer, and establish connection.
- Click on the drop down arrow in the center of the screen.
- Choose the gear icon to choose the correct monitor.
Note: If you are remotely accessing a device with multiple monitors, you can view multiple remote screens in a single screen at the same time, or view each monitor on a different screen.
- To view each monitor on a different screen, from the application menu, go to ‘View’ and click ‘All Monitors (Multiple Window)’. Each monitor of the remote computer will appear on a different screen and individual monitors can be accessed by clicking the respective screen.
- To view all the monitors in single screen, from the application menu, go to ‘View’ and click ‘All Monitors (One Window)’. All the screens of the remote computer will appear in the same screen.
You can also visit the RemotePC website for video tutorials by going to: https://www.remotepc.com/videos.htm
Return to top
If you need assistance please call the helpdesk at (909) 607-3065 or email [email protected].
Related Links: