This week’s tip: Zoom Tips – Part III
Need another “Zoom Personal Room”? – A lot of you have probably reserved your PMI (Personal Meeting ID) for a class, or standing meetings, but what if you need another one?
If you Schedule a New Meeting and select No Fixed Time under Reoccurrence, you’ll create another meeting that isn’t tied to a specific date or time – it will exist until you delete it. This is great for open office hours or advising!
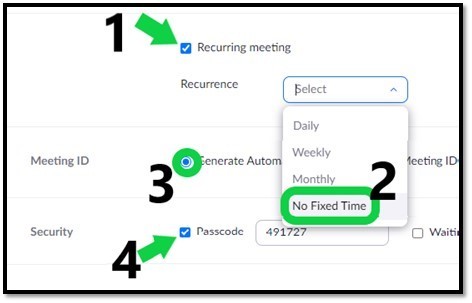
- You’ll want to use the “Generate Automatically” option under Meeting ID so that it creates a new Meeting ID number, separate from your PMI.
- If you’re going to use the “Join Before Host” feature, be sure to add a Passcode or use the Waiting Room feature for security.
Speaking of the Passcode Feature – Adding a passcode to your Zoom meeting can increase security, but we all know that it also runs the risk of people not being able to get in.
Did you know that your passcode embeds within the Meeting Invitation Link so that people don’t have to remember or type it in when they join?
This is an example of a Zoom Meeting URL (Link) without a passcode:

This is an example of a Zoom Meeting URL (Link) with a passcode:

Your attendees with this link (which is also included in the calendar invite) only need to click on the link to enter the Zoom Meeting. The only time they will be prompted to enter in a passcode manually is if they use Join Meeting and enter in the Meeting ID manually.
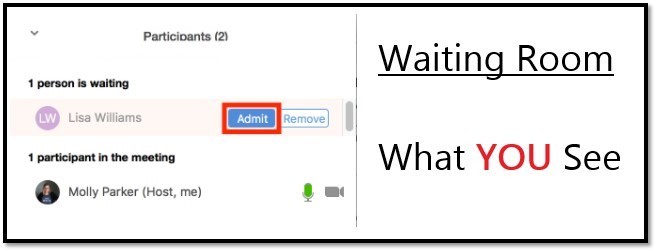
What about that Waiting Room? – The waiting room can also be a level of security for your Zoom rooms. As the host, you will get a separate window where your attendees will queue up to be allowed in. This is a great feature if you’re doing open appointments/advising so that other people don’t join the conversation until you’re ready for them to.

Claim Host Key – We have received a lot of questions from everyone about instances where they are the creator of a Zoom Meeting, but that they are unable to attend it themselves. There is an option where you can share your Host Privileges of one of your meetings with someone, EVEN IF they don’t have a licensed Zoom account themselves. Please note: Students are licensed for video conferencing with both Google Meet and Microsoft Teams, not Zoom. They can create basic Zoom accounts, but with a 40 minute limit. If a student is asking for a longer meeting time, they should use one of those two options.
Disclaimer About the Claim Host Feature
- Your Host Key applies to ALL of your meetings, not just one. If someone has your Host Key, they have the ability to infiltrate and take over any meeting you have created – unless (a) you change/edit your Host Key or (b) you’re using your PMI. Please be wary about who you give your Host Key out to, and change it after they are finished using it.
How to use the Claim Host Feature:
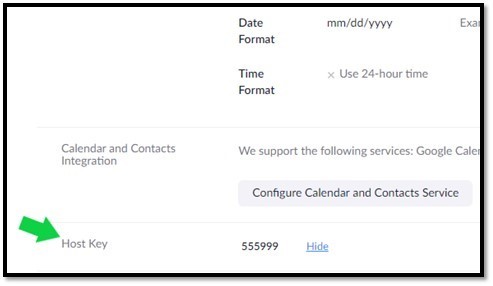
Locate your Host Key under your Zoom Profile:
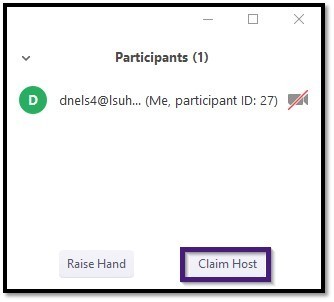
- Provide your Host Key to someone who be attending a meeting that YOU scheduled with the Join Before Host setting turned ON.
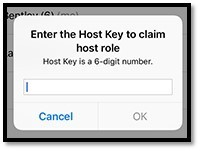
- The person you provided the Host Key to can join the meeting and select the Claim Host button under the Participants List.
Click here to go Back to Archive